Groups
Groups in Decidim serve several purposes:
To allow you to participate on behalf of an entity, for example, joining a meeting or endorsing a proposal on behalf of your team
To allow groups of people to automatically join an assembly by virtue of their group membership
To allow groups of people to have conversations together
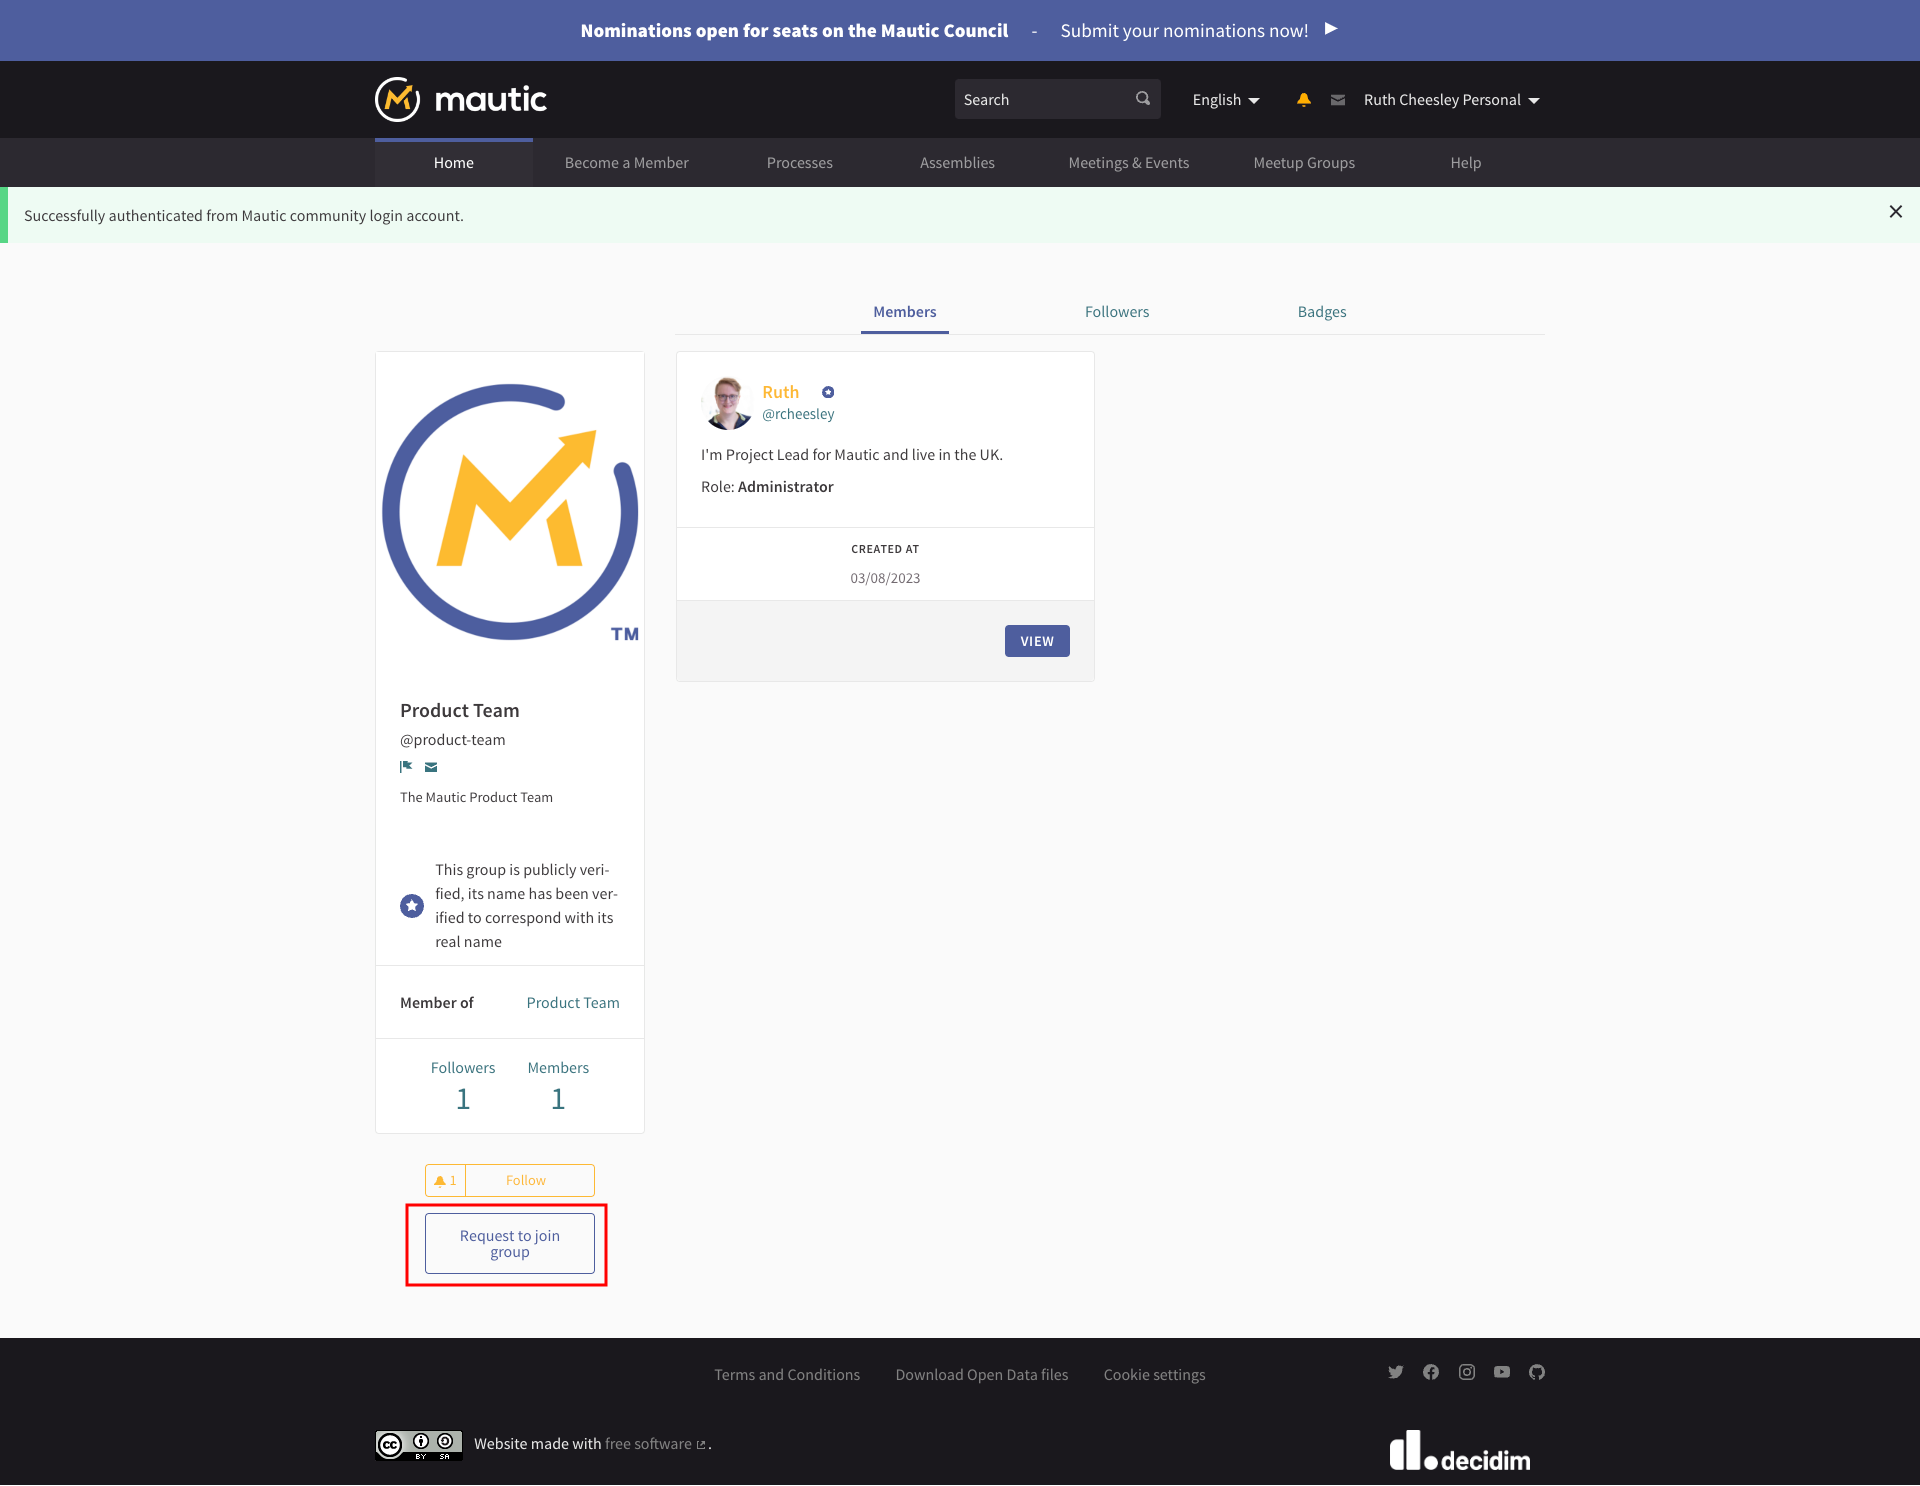
Joining a group
If you would like to join a team, working group or other entity within the community, the first step is to request to join the group. This allows you to become a member of the connected assembly as a contributor, when approved.
Find the group you want to join, either via the assembly homepage or groups search.
Click to request to join the group, and wait for request approval.
Accepting a member request
When a new member requests to join a group which you are an administrator of, you receive notification in-app and by email:
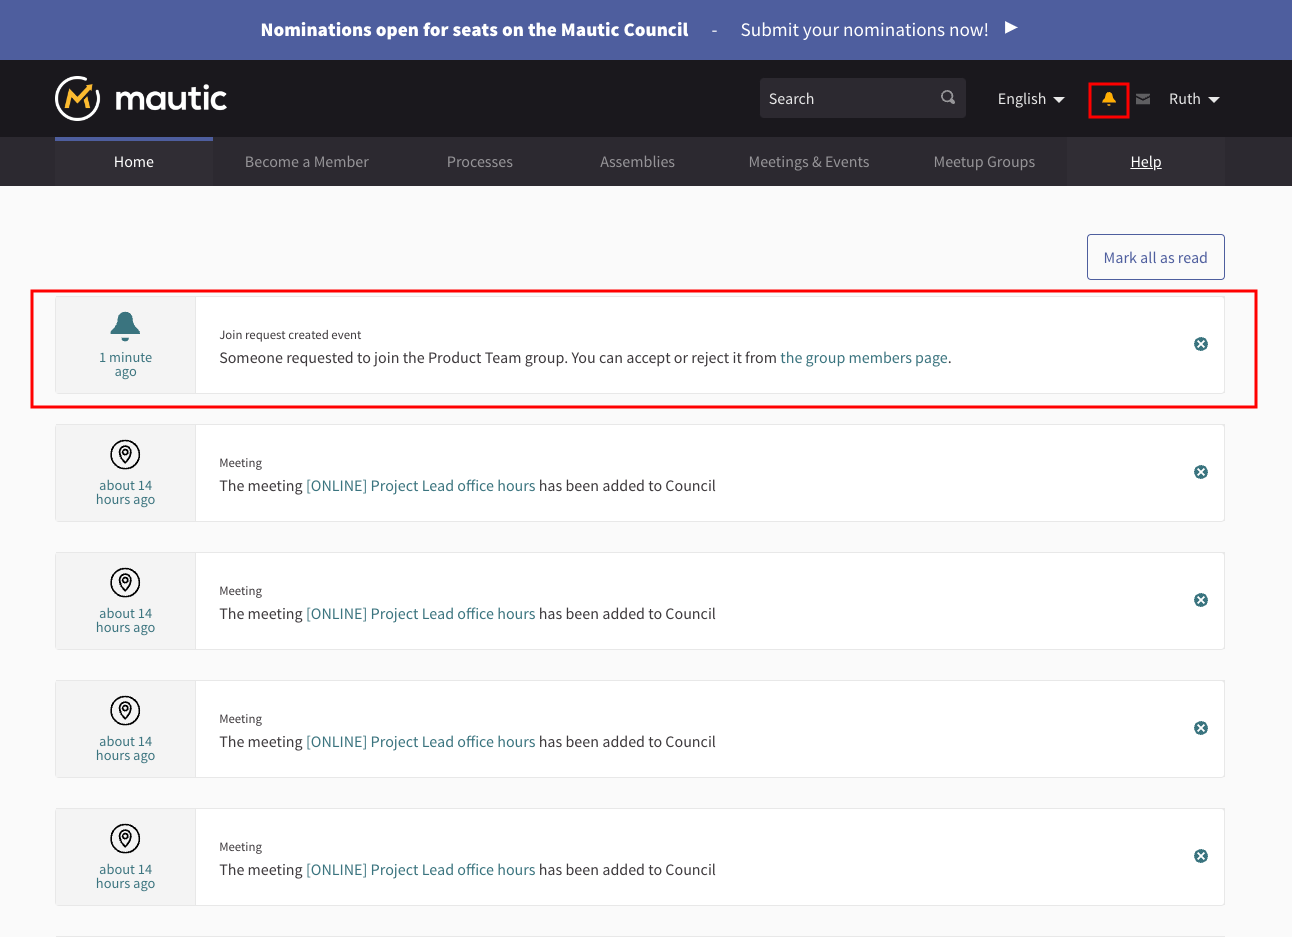
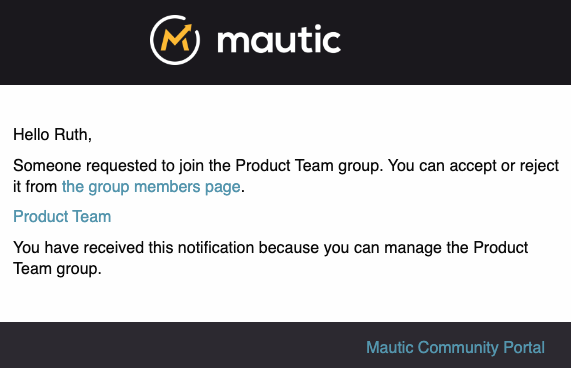
Use the link in the notification to jump straight to the request, and click ‘Accept’ to allow the request, or ‘Reject’ to prevent the user joining the group.

On approval, they’re added to the group and any related assemblies.
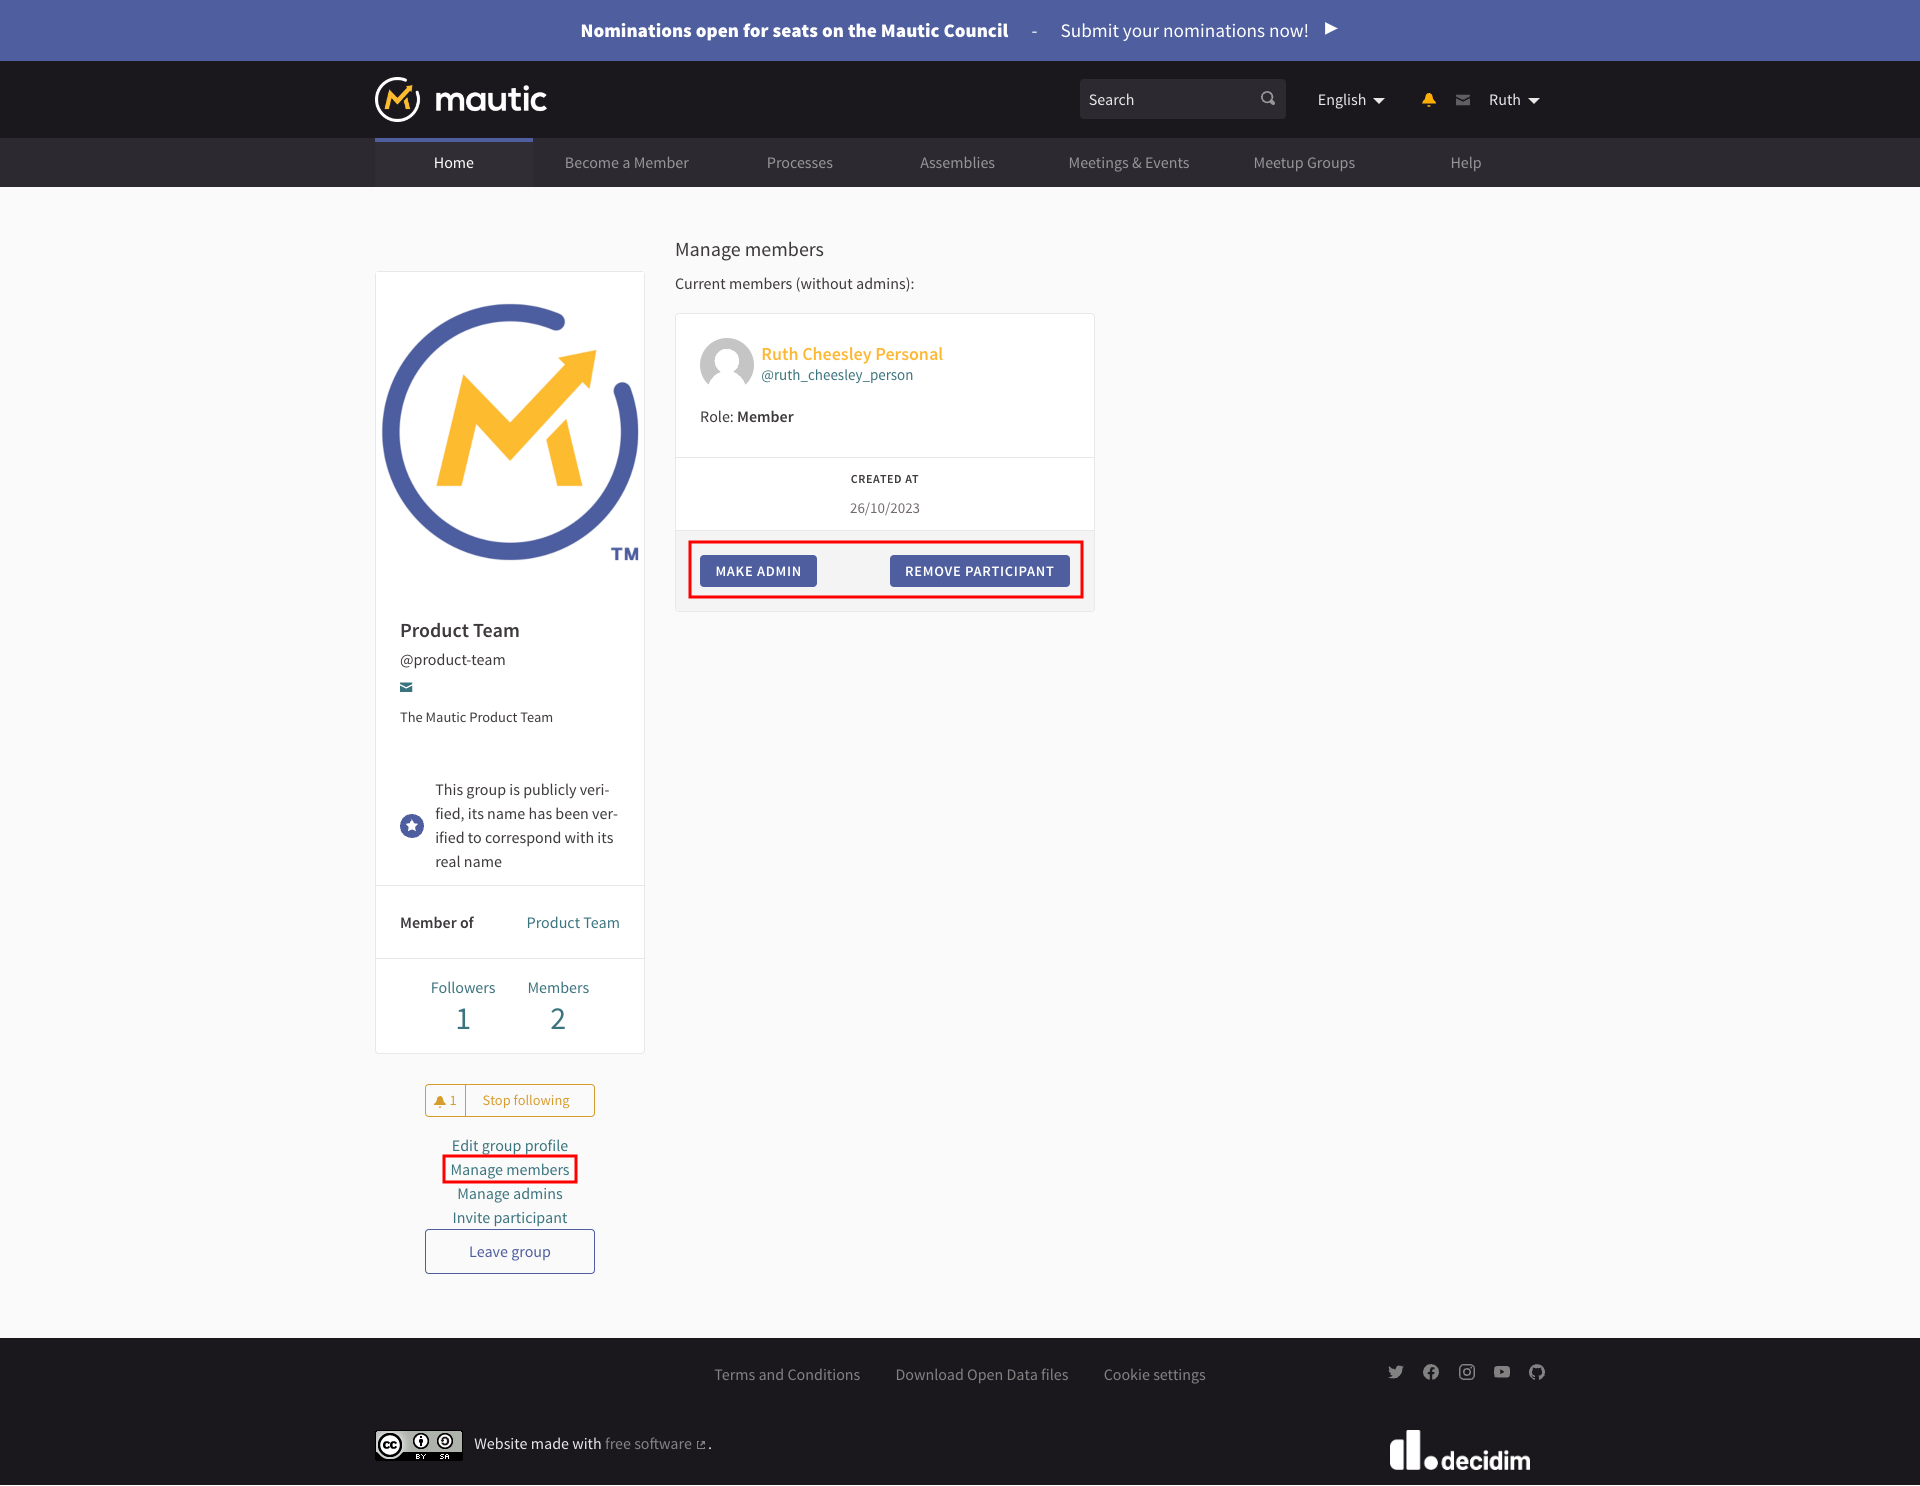
Managing members
If you need to promote a member to an administrator of a group or remove a member, click ‘Manage members’ within the group, and then click the relevant button.
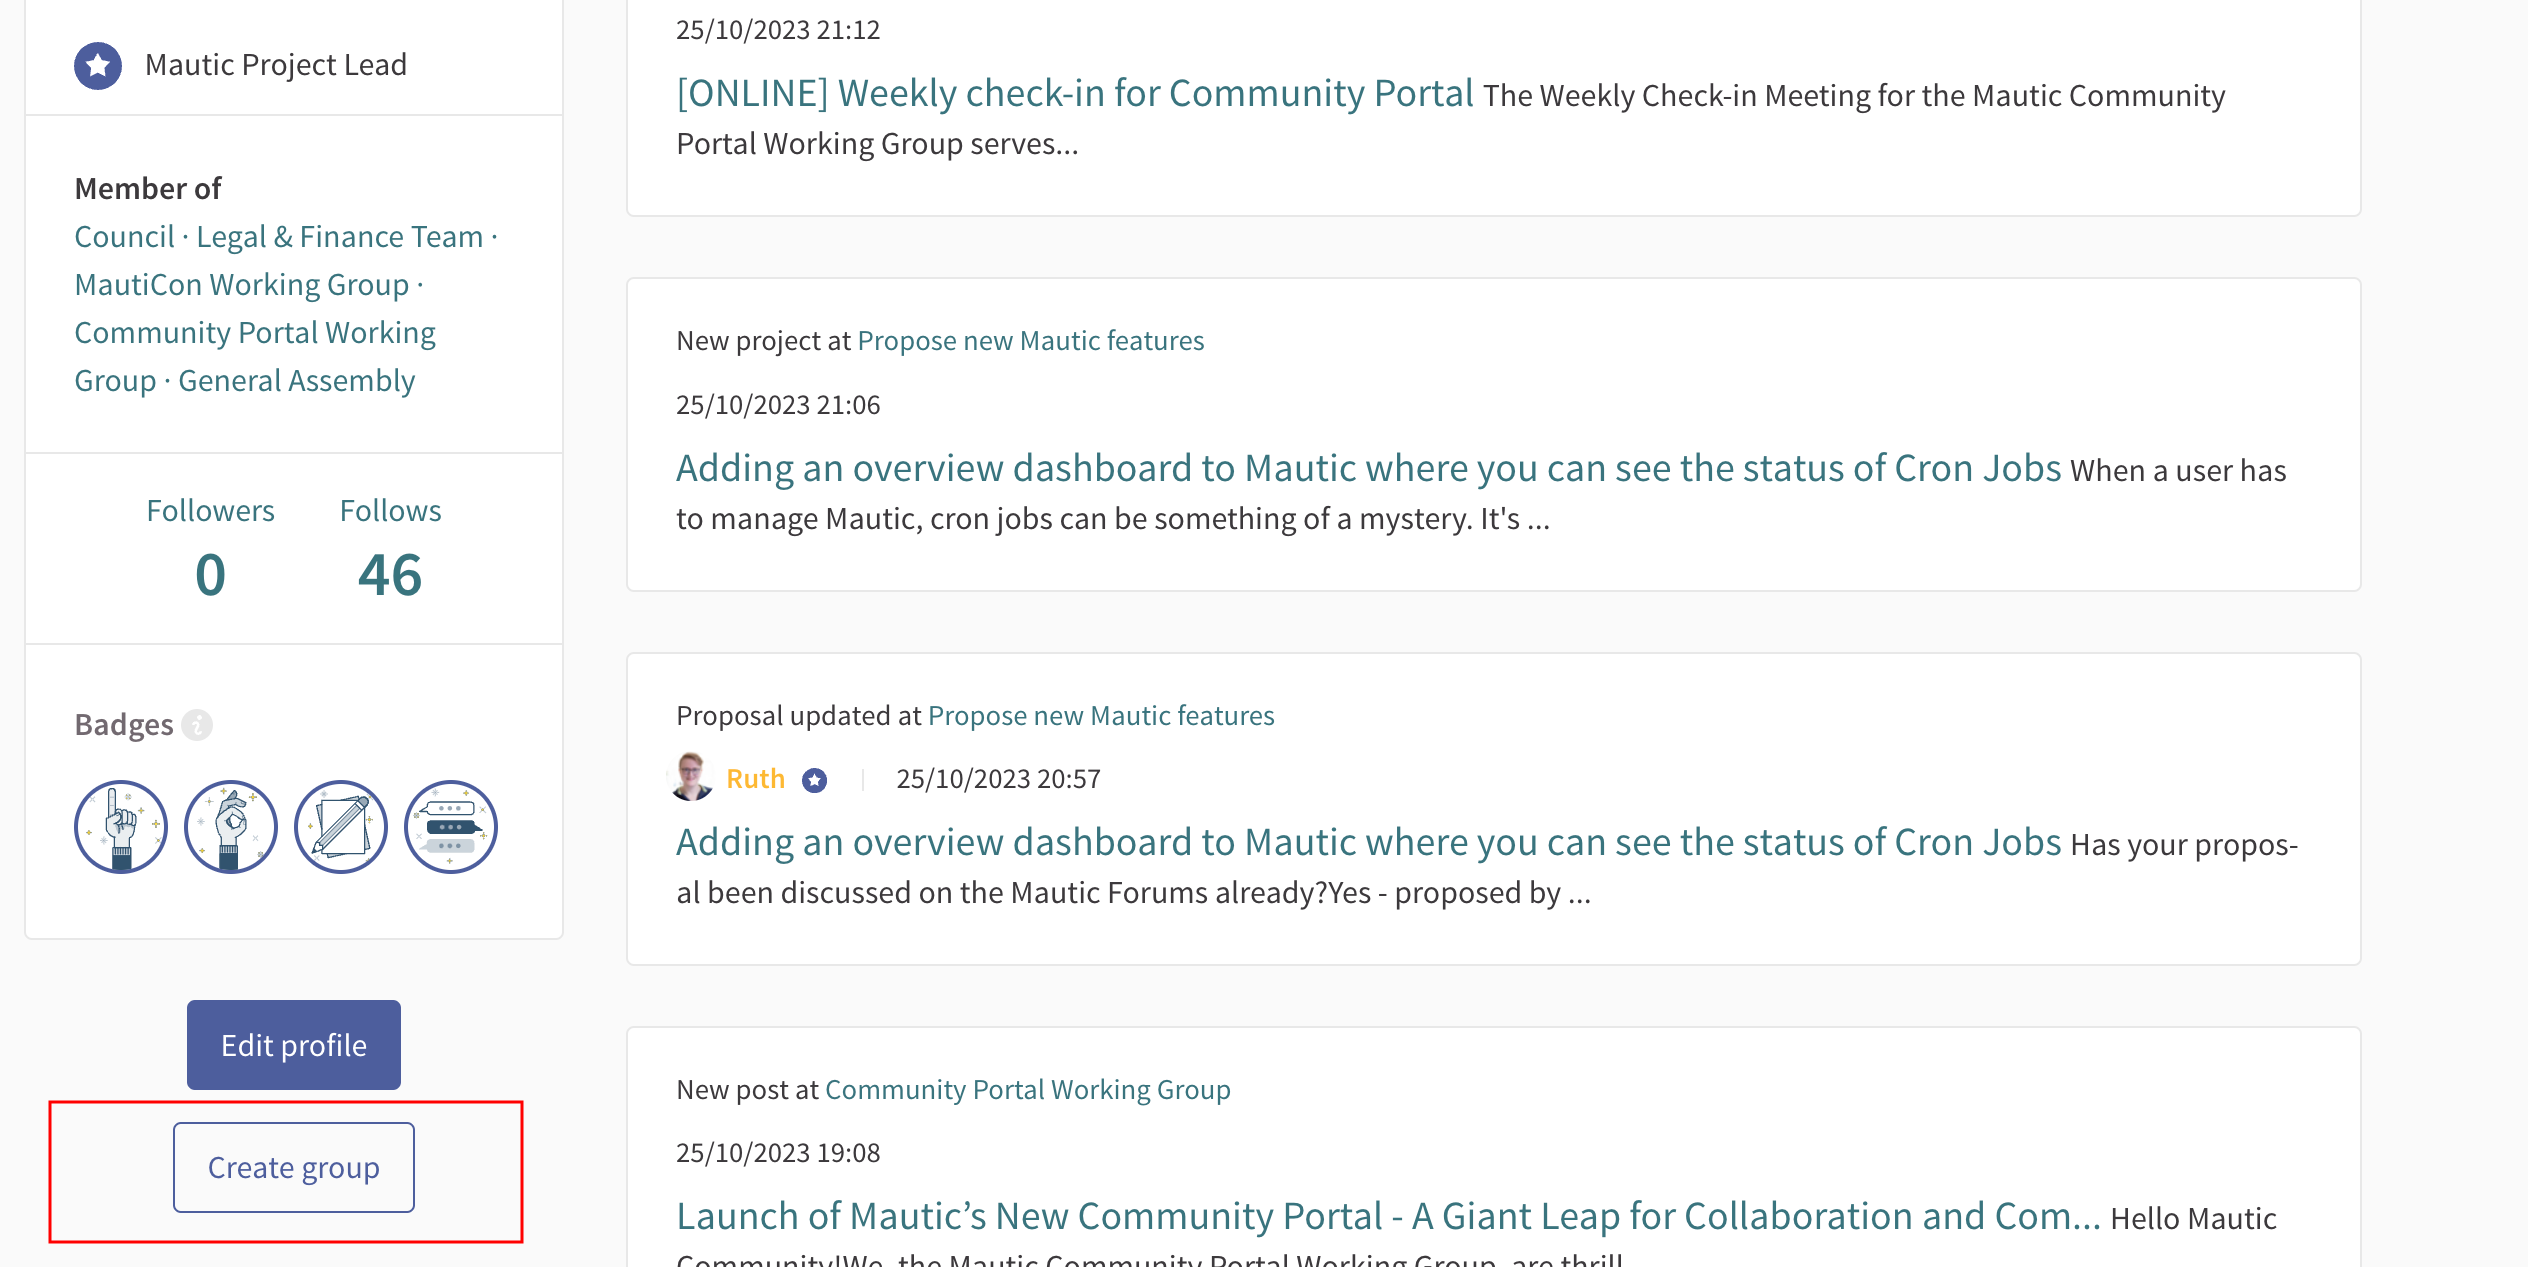
Creating a group
Individuals have to create Groups rather than via the administrator portal, and are then verified by the Community Portal Working Group.
Go to your public profile, via the user menu.
Click on ‘Create group’ at the bottom left of your user profile:
Use the team email address with your group as a suffix, for example,
community-team+portalwg@mautic.org. The team receives and confirms via email.For official groups, use the Mautic logo for the avatar.
Click ‘Invite participants’ to add other members. You need to know their nickname for the community portal, from their profile.
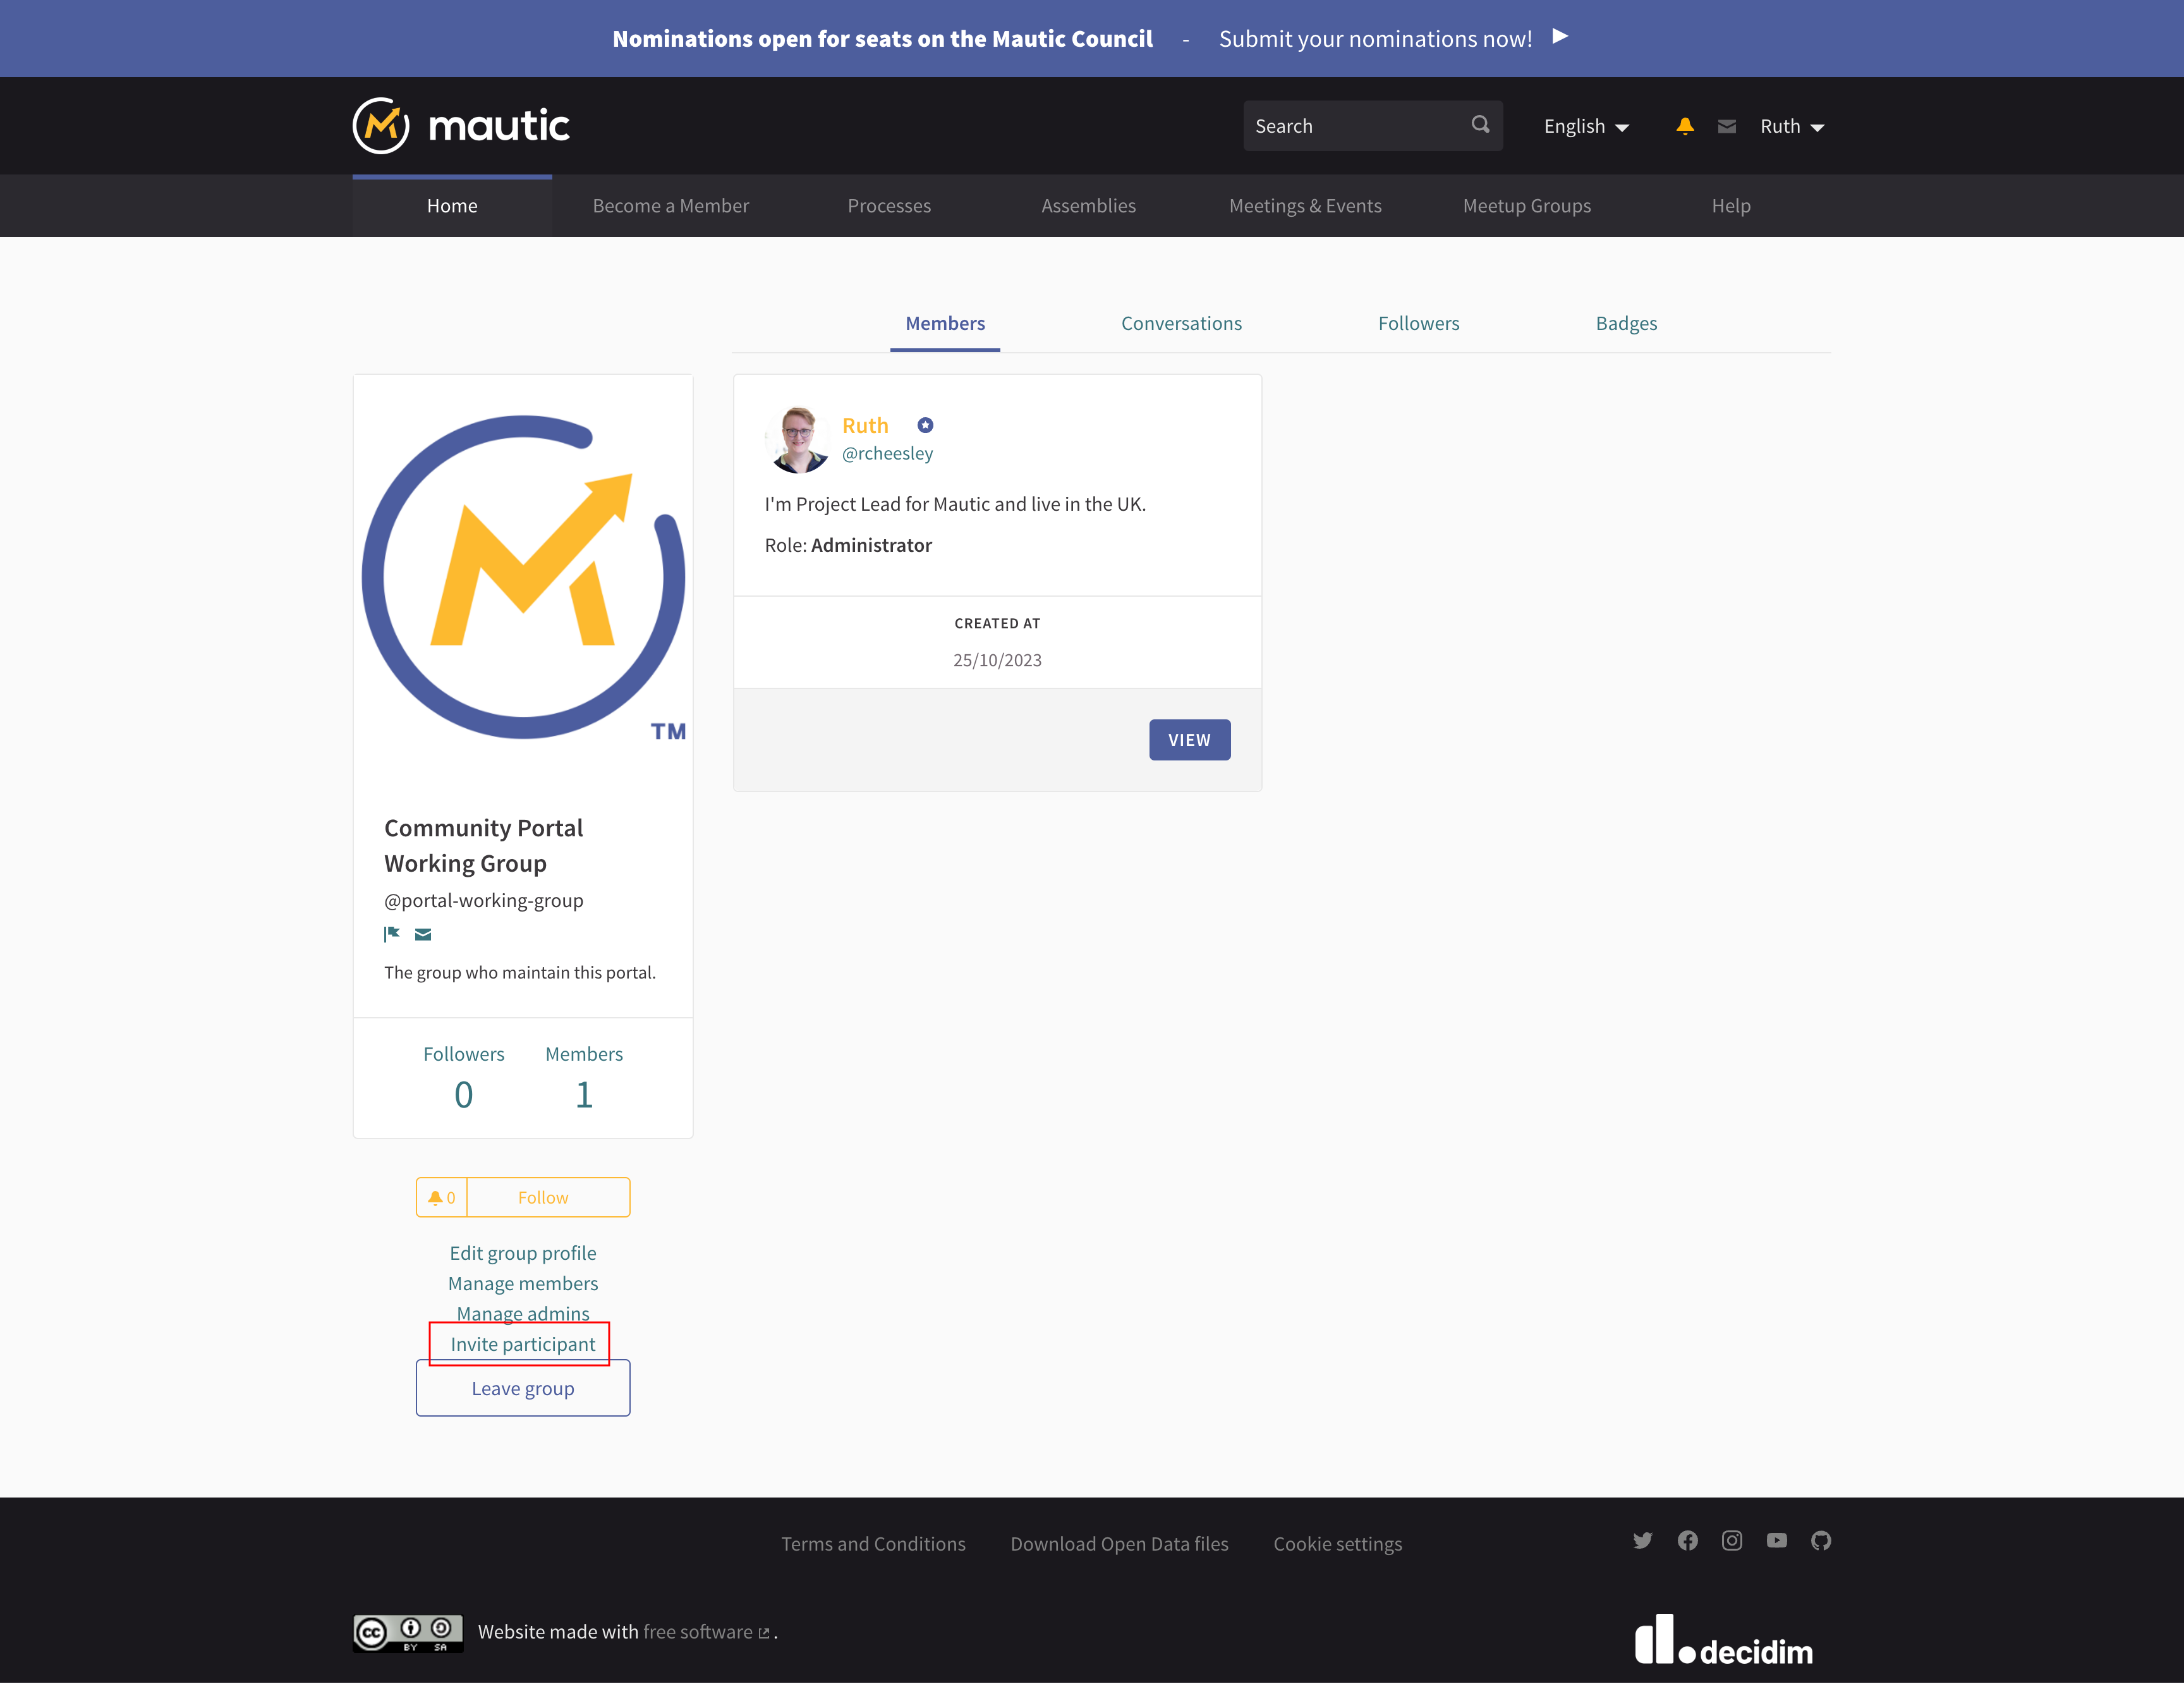
Ensure that you add at least one other administrator, ideally someone from the Community Portal Working Group.
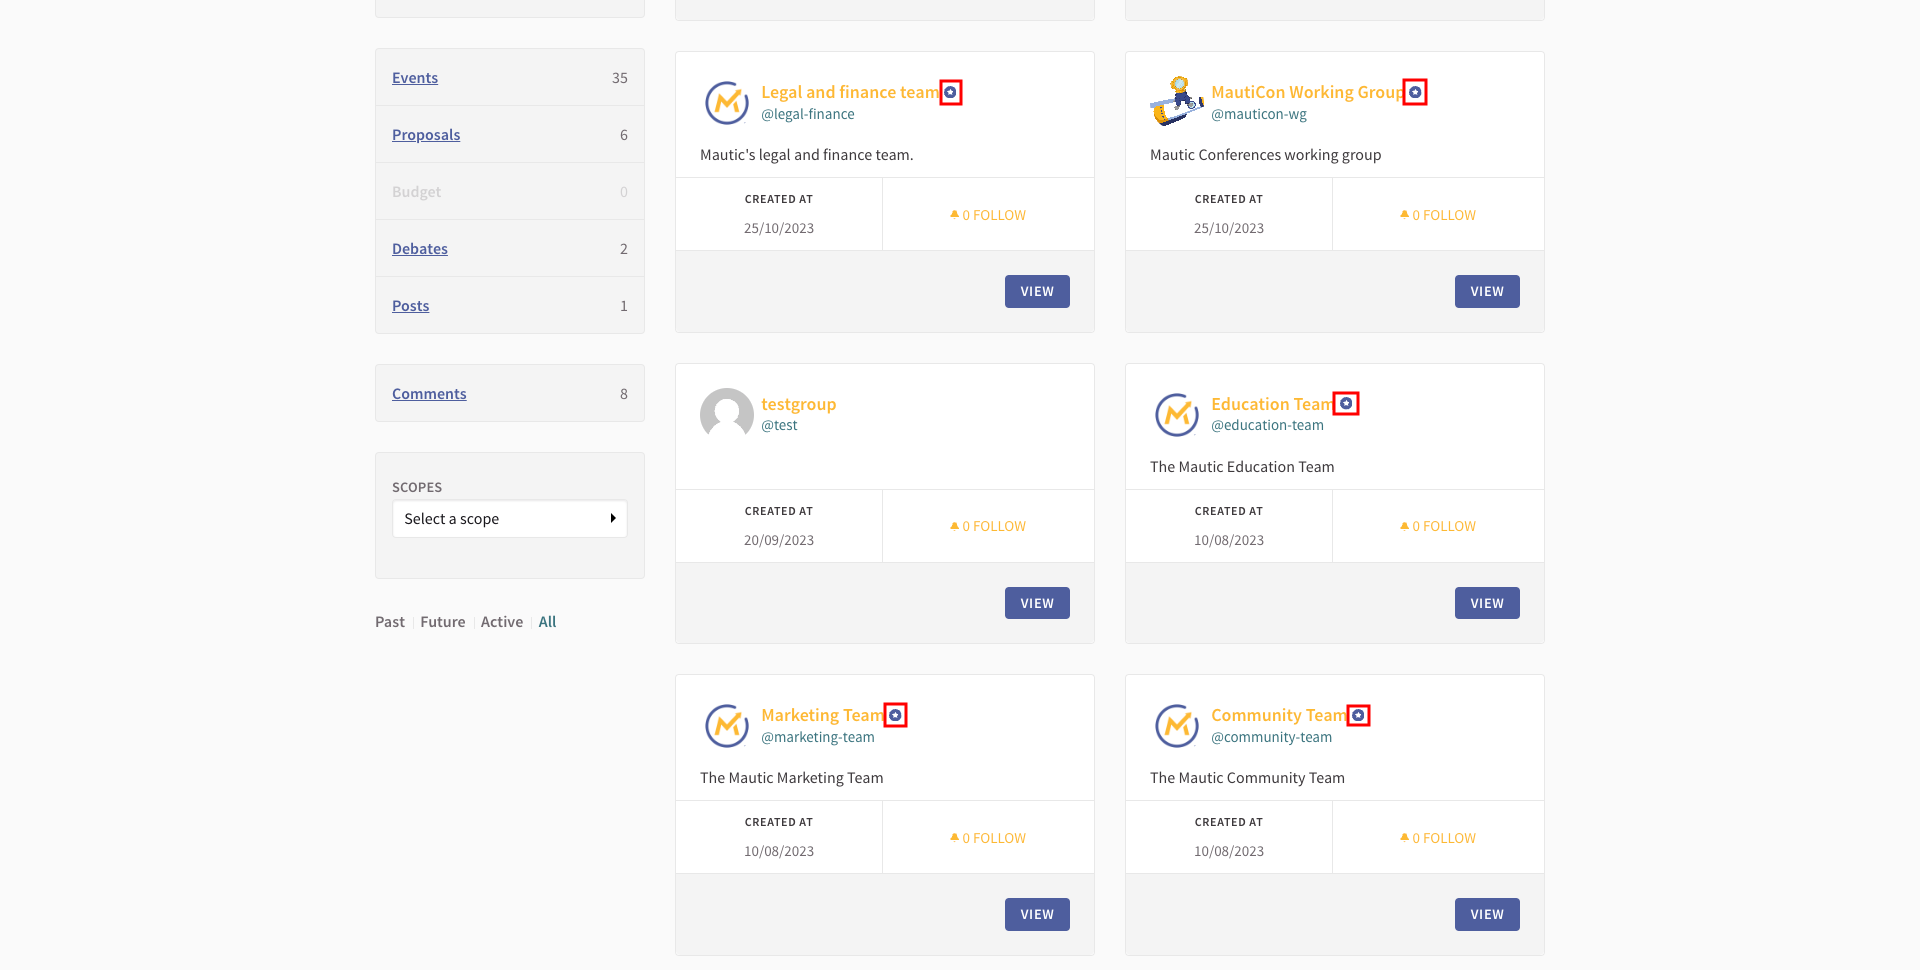
Once created, you can find groups via the Groups menu or by searching and filtering on groups search.
Official groups have a blue circle with a white star inside to signify their status.
Adding a group as a member of an entity
You can add a group in the same way you add a user to an assembly, process, etc. by logging in as an administrator, going to the entity in the administrator panel, navigating to Members > Add new member, and typing the group name.
Remember that adding the group means that all members of the group become a member of that entity immediately.
Acting on behalf of a group
When you are an administrator of a group, you have the ability to act on behalf of a group. This might include:
Attending a meeting or event on behalf of a group
Endorsing a proposal on behalf of a group
When eligible, a checkbox displays when registering - for example, to attend a meeting or endorsing a proposal - which allows you to take action on behalf of the group.

By checking the box, the group name - rather than your name - shows in relation to the action, for example, as an attendee of a meeting or endorsing a proposal.